Corner Windows
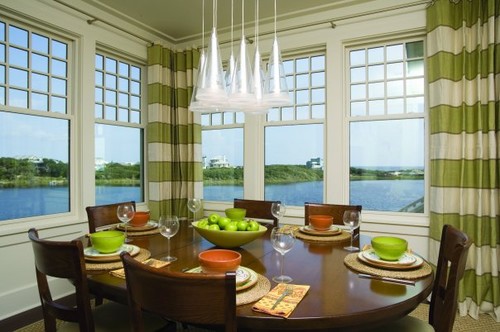
Tracery Interiors
While corner windows are fantastic for views they often cause problems depending on how they meet in the corner. This setting allows enough space for panels to hang on the sides and in the centre, but they do not appear to be fully closing.
Roman shades are a good alternative in corner windows if there is enough room for the shades to meet in the corner. An inside mount would alleviate that problem.
If privacy isn't an issue you can keep is simple with a mock roman valance that runs the width of the two windows.
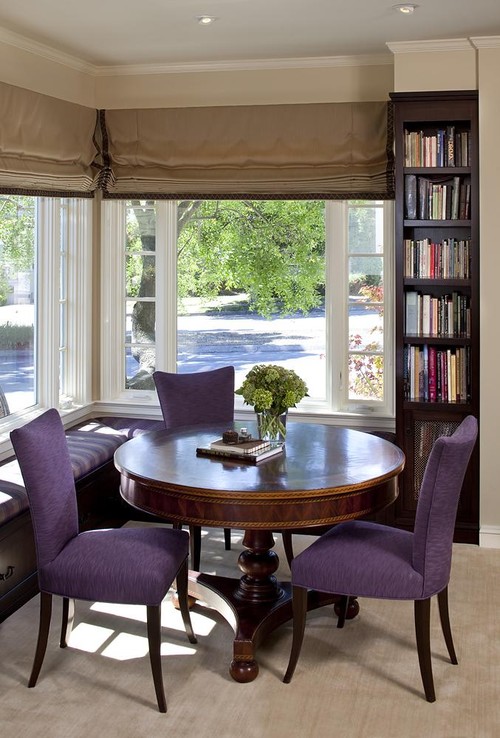
Two different style windows in same room

When you have two different style windows in a room one solution is to put a roman shade on the smallest one. You can use the same fabric to coordinate the look.
High, small basement windows


Shutters always work well in a basement because they can be easily opened and closed on a hinge which allows you to fold them back on the wall when you want optimum light.
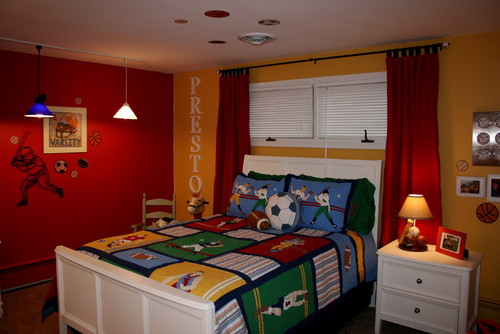
Placing a bed below a basement window and then framing both with side panels pulls a design together. Keeping the window treatment and the bed the same colour adds to the cohesiveness.
Privacy Issues

Elle Decor
Window film is a practical solution when privacy is an issue in window treatments. Some have patterns others are matte. When you buy large sheets of matte film it can be cut to create various geometric designs which add a little creativity to the solution. This pattern is by Emma Jeffs.
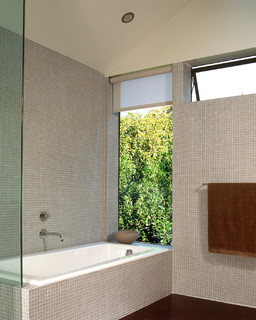
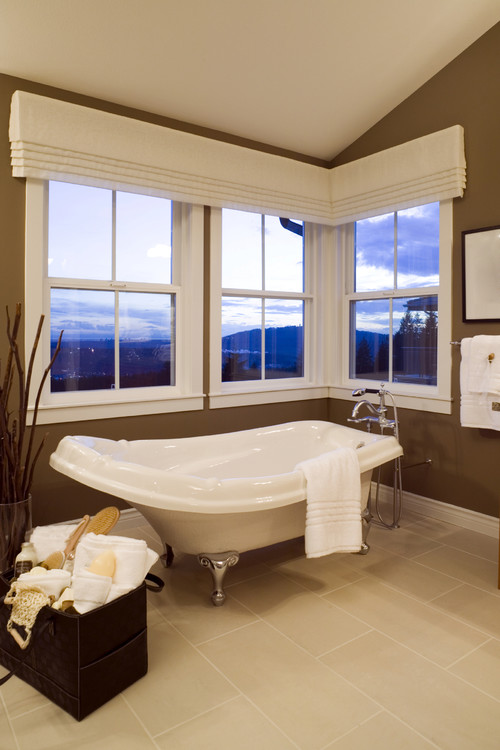
Cary Bernstein Architect
One of my favourite window treatments for bathrooms and kitchens is a roller shade. They have a clean, no nonsense look, are easy to raise up and down and come in a wide variety of patterns, textures and colours. If you want to see the view in the daytime they roll up completely under the cassette/valance.
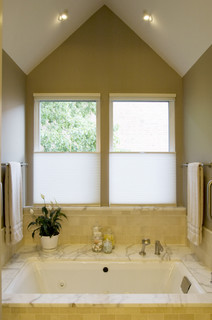
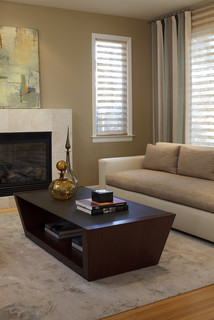
Claudia Martin, ASID
Top down bottom up cellular shades are very versatile and solve many decorating problems. They can be dropped from the top or pulled up from the bottom. You can have privacy and light at the same time. Check out Levelor.


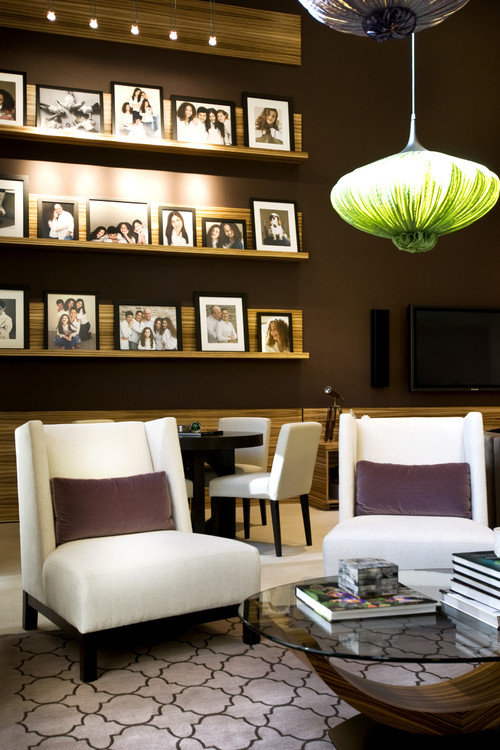
![CrystalTech - [ Roger Hirsch Architect ] eclectic living room](http://st.houzz.com/simages/18675_0_8-9373-eclectic-living-room.jpg)


